Create Your Own Embroidered Patch: Personalize Your Style
Embroidered patches have a rich history that dates back centuries. They were originally used as a way to mend and reinforce clothing, but over time, they evolved into a form of personal expression. Today, embroidered Patches are a popular way to add a unique and personal touch to clothing, accessories, and more.
Adding a personal touch to your clothing is important for several reasons. First and foremost, it allows you to showcase your individuality and stand out from the crowd. In a world where mass-produced clothing is the norm, having something that is uniquely yours can be a refreshing change. Additionally, adding a personal touch to your clothing can also be a form of self-expression and a way to communicate your interests, beliefs, or sense of humor.
Creating your own embroidered patches has many benefits. Not only does it give you complete control over the design and style of the patch, but it also allows you to customize it to your liking. Whether you want to create a patch with your favorite quote, a logo of your favorite band, or a design that represents something meaningful to you, the possibilities are endless when you create your own patches.
Key Takeaways
- Embroidered patches are a great way to add a personal touch to your clothing.
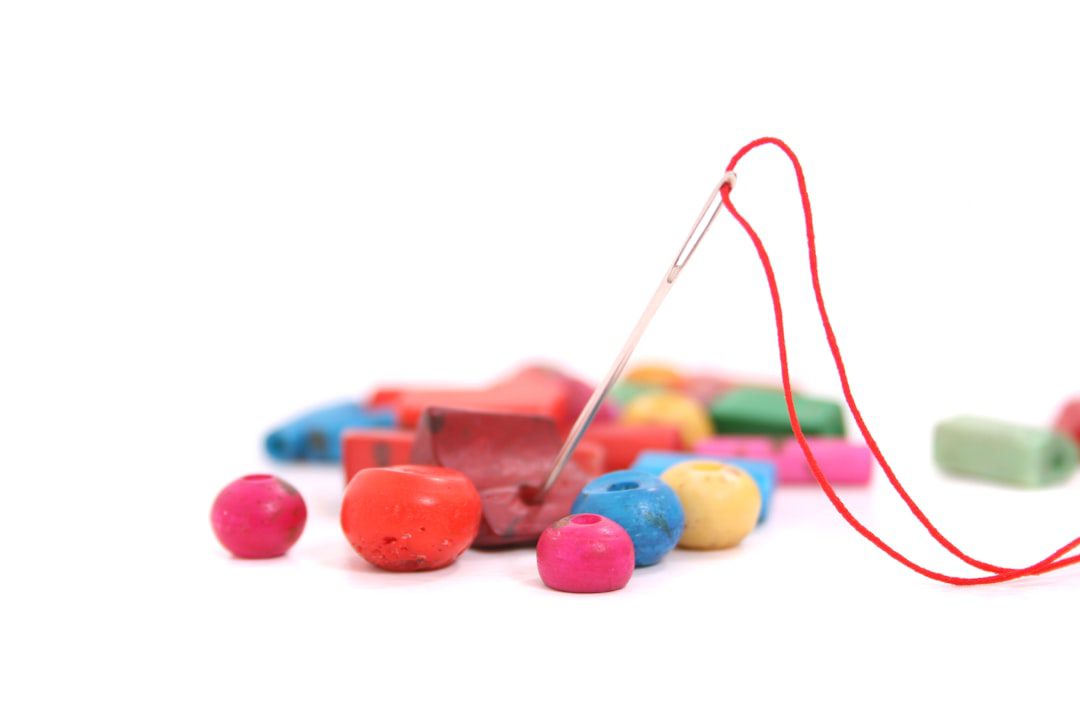
- To create your own embroidered patch, you will need materials such as fabric, embroidery thread, and a needle.
- When choosing a design for your patch, consider factors such as size, complexity, and color scheme.
- Transferring your design onto fabric can be done using methods such as tracing or using transfer paper.
- Embroidery techniques for your patch range from basic stitches like the backstitch to more advanced methods like the French knot.
Materials Needed for Creating Your Own Embroidered Patch
To create your own embroidered patch, you will need a few key materials. These include:
1. Fabric: Choose a fabric that is suitable for embroidery, such as cotton or denim. Make sure the fabric is sturdy enough to withstand the embroidery process.
2. Embroidery hoop: This is used to hold the fabric taut while you embroider.
3. Embroidery floss: This is the thread used for embroidery. Choose colors that complement your design.
4. Embroidery needles: These needles have larger eyes to accommodate the embroidery floss.
5. Transfer method: There are several methods for transferring your design onto the fabric, such as using transfer paper, a lightbox, or a water-soluble pen.
6. Scissors: You will need a pair of sharp scissors to trim excess fabric and thread.
7. Backing material: Depending on how you plan to attach your patch, you may need iron-on backing, sew-on backing, or Velcro.
These materials can be found at craft stores, online retailers, or specialty embroidery shops. It’s important to choose high-quality materials to ensure the longevity and durability of your embroidered patch.
Choosing the Right Design for Your Embroidered Patch
Choosing the right design for your embroidered patch is crucial, as it will determine the overall look and feel of the patch. Here are some tips for choosing a design:
1. Consider your interests: Think about what you are passionate about or what represents you as a person. This could be anything from your favorite hobby to a symbol that holds personal meaning.
2. Keep it simple: When it comes to designing an embroidered patch, less is often more. Opt for clean lines and minimal details to ensure that the design translates well into embroidery.
3. Research popular designs: Look online or in magazines for inspiration. There are many popular designs that can serve as a starting point for your own unique creation.
Some popular designs for embroidered patches include floral motifs, animals, geometric shapes, and quotes or phrases. Ultimately, the design should be something that resonates with you and reflects your personal style.
Transferring Your Design onto Fabric: Tips and Tricks
| Topic | Metric |
|---|---|
| Transferring Design | Number of successful transfers |
| Tools Used | List of tools used for transferring design |
| Types of Fabric | List of fabrics suitable for transferring design |
| Preparation | Steps taken to prepare fabric for transfer |
| Techniques | List of techniques used for transferring design |
| Common Mistakes | List of common mistakes made during transfer process |
| Troubleshooting | List of solutions for common transfer problems |
Once you have chosen a design for your embroidered patch, the next step is to transfer it onto fabric. There are several methods for transferring a design, each with its own pros and cons.
One common method is using transfer paper. This involves printing your design onto transfer paper using an inkjet printer and then ironing it onto the fabric. This method is relatively easy and produces accurate results, but it can be time-consuming and may not work well with intricate designs.
Another method is using a lightbox. This involves placing your design on a lightbox or a bright window and tracing it onto the fabric using a water-soluble pen or pencil. This method is great for intricate designs and allows for more control, but it requires a light source and may not work well with thicker fabrics.
Finally, you can also use a water-soluble pen or pencil to directly draw your design onto the fabric. This method is quick and easy, but it may not produce as precise results as the other methods.
Regardless of the method you choose, there are a few tips for successful transfer. First, make sure the fabric is clean and free of any wrinkles or creases. This will ensure that the design transfers smoothly onto the fabric. Additionally, be gentle when transferring the design to avoid smudging or distorting the image. Finally, always test the transfer method on a scrap piece of fabric before applying it to your final piece.
Embroidery Techniques for Your Patch: From Basic Stitches to Advanced Methods
Once you have transferred your design onto fabric, it’s time to start embroidering. There are several basic embroidery stitches that you can use to create your patch, as well as more advanced techniques for those looking to take their embroidery skills to the next level.
Some basic embroidery stitches include:
1. Backstitch: This stitch is commonly used for outlining and creating straight lines.
2. Satin stitch: This stitch is used to fill in larger areas with solid color.
3. French knot: This stitch creates small, raised dots and is often used for adding texture or detail.
4. Chain stitch: This stitch creates a looped line and can be used for outlining or creating decorative elements.
These are just a few examples of basic embroidery stitches, but there are many more to explore. Advanced embroidery techniques include techniques such as stumpwork, goldwork, and crewelwork, which involve more intricate and complex stitching.
When embroidering your patch, it’s important to take your time and be patient. Start with the basic stitches and gradually work your way up to more advanced techniques. Practice on scrap fabric before embroidering your final piece to ensure that you are comfortable with the stitches and that they look the way you want them to.
Adding Text to Your Embroidered Patch: Fonts, Sizes, and Placement
Adding text to your embroidered patch can be a great way to personalize it even further. Whether you want to add a name, a quote, or a meaningful word, there are a few things to consider when choosing the right font, size, and placement.
When it comes to choosing a font for your text, it’s important to consider legibility. Avoid overly decorative or intricate fonts that may be difficult to read when embroidered. Opt for clean and simple fonts that complement the overall design of the patch.
The size of the text will depend on the size of your patch and the amount of text you want to include. Make sure the text is large enough to be easily read but not so large that it overwhelms the design. Experiment with different sizes on scrap fabric before committing to the final size.
Placement options for text can vary depending on the design of your patch. Some common placements include along the bottom or top edge of the patch, in a curved or straight line across the center of the patch, or in a circular or diagonal arrangement. Consider how the text will interact with the rest of the design and choose a placement that enhances the overall aesthetic.
Choosing the Right Backing for Your Patch: Iron-On, Sew-On, or Velcro
Choosing the right backing for your embroidered patch is important as it will determine how you attach it to your clothing or accessories. There are several options to choose from, including iron-on backing, sew-on backing, and Velcro.
Iron-on backing is a popular choice as it is easy to use and provides a secure attachment. To attach an iron-on patch, simply place it on the desired location, cover it with a thin cloth, and press a hot iron on top for a few seconds. The heat will activate the adhesive on the back of the patch, securing it to the fabric. Iron-on patches are great for lightweight fabrics or items that cannot be easily sewn.
Sew-on backing is another option for attaching your patch. This involves stitching the patch onto the fabric using a needle and thread. Sew-on patches provide a more permanent attachment and are ideal for heavier fabrics or items that will undergo frequent washing or wear.
Velcro backing is a versatile option that allows you to easily attach and detach your patch as needed. This is especially useful if you plan to switch out patches frequently or if you want the option to remove the patch without damaging the fabric.
When choosing the right backing for your patch, consider the type of fabric you will be attaching it to, as well as your personal preference and intended use for the patch.
Finishing Touches for Your Embroidered Patch: Trimming, Edging, and Sealing
Adding finishing touches to your embroidered patch can elevate its overall appearance and ensure its longevity. There are several options for trimming, edging, and sealing your patch.
Trimming refers to cutting away any excess fabric around the edges of your patch. This helps create clean lines and prevents fraying. Use sharp scissors to carefully trim away any excess fabric, making sure not to cut into the embroidered design.
Edging is another option for finishing your patch. This involves adding a decorative border around the edges of the patch using embroidery thread or a contrasting fabric. Edging can add visual interest and help define the shape of the patch.
Sealing your patch is important to protect it from wear and tear. There are several methods for sealing your patch, including using fabric glue, heat-sealing with an iron, or applying a fabric sealant. Choose a method that works best for your patch and follow the instructions carefully to ensure a secure and long-lasting seal.
Creative Ideas for Using Your Embroidered Patches: From Jackets to Backpacks
Embroidered patches can be used in a variety of creative ways to add a personal touch to your clothing and accessories. Here are some ideas to get you started:
1. Jackets: Sew or iron-on patches onto the back, sleeves, or collar of a denim or leather jacket for a cool and edgy look.
2. Backpacks: Personalize your backpack by adding patches that represent your interests or hobbies. Sew them onto the front pocket or along the straps for a unique touch.
3. Hats: Add a patch to the front or side of a baseball cap or beanie for a stylish and personalized accessory.
4. Jeans: Embellish your jeans by sewing patches onto the back pockets or along the sides for a trendy and customized look.
5. Tote bags: Customize a plain canvas tote bag by sewing on patches that reflect your personality or interests.
These are just a few examples of how you can incorporate embroidered patches into your style. Get creative and think outside the box to find unique ways to showcase your patches.
Showcasing Your Personal Style with Your Own Embroidered Patches
In conclusion, embroidered patches are a great way to add a personal touch to your clothing and accessories. By creating your own patches, you have complete control over the design, style, and placement, allowing you to showcase your individuality and creativity.
When creating your own embroidered patches, it’s important to choose high-quality materials and take your time with each step of the process. From choosing the right design to transferring it onto fabric, embroidering, adding text, choosing the right backing, and adding finishing touches, each step contributes to the overall quality and appearance of your patch.
Once your patches are complete, get creative with how you use them. Whether you sew them onto jackets, backpacks, hats, or jeans, or use them to personalize tote bags or other accessories, embroidered patches are a versatile and stylish way to showcase your personal style.
So why wait? Start creating your own embroidered patches today and let your creativity shine!
If you’re looking to design your own embroidered patch, look no further than Custom Embroidered Badges. With their wide range of customization options and high-quality craftsmanship, they are the go-to source for creating unique and personalized patches. Whether you want to showcase your brand logo, commemorate a special event, or add a touch of style to your clothing or accessories, Custom Embroidered Badges has got you covered. Check out their website at https://customembroideredbadges.com/ to explore their extensive collection and start designing your own embroidered patch today.
FAQs
What is an embroidered patch?
An embroidered patch is a piece of fabric that has a design or logo stitched onto it using colored threads.
What are the uses of embroidered patches?
Embroidered patches are used for a variety of purposes such as branding, identification, decoration, and personalization of clothing, bags, hats, and other accessories.
How can I design my own embroidered patch?
You can design your own embroidered patch by using a graphic design software or an online patch design tool. You can choose the shape, size, colors, and design elements of your patch.
What are the factors to consider when designing an embroidered patch?
When designing an embroidered patch, you should consider the size, shape, color scheme, design elements, and the type of backing and border that you want for your patch.
What is the process of making an embroidered patch?
The process of making an embroidered patch involves digitizing the design, selecting the thread colors, hooping the fabric and stabilizer, and running the embroidery machine to stitch the design onto the fabric. The patch is then cut to size and shape and finished with a backing and border.
What are the types of backing and border options for embroidered patches?
The types of backing options for embroidered patches include iron-on, sew-on, adhesive, and Velcro. The types of border options include merrowed, hot cut, and laser cut.
What is the cost of designing and making an embroidered patch?
The cost of designing and making an embroidered patch depends on the size, complexity, quantity, and type of backing and border that you choose. Generally, the cost ranges from a few dollars to several dollars per patch.