DIY Embroidered Patch: Add Personal Flair to Your Wardrobe
Embroidered patches have a long and rich history, dating back to ancient civilizations. They were originally used as a way to identify individuals or groups, such as military units or organizations. Over time, embroidered Patches have evolved into a popular fashion accessory, allowing individuals to express their personal style and interests.
DIY embroidered patches are a fun and creative way to add a personal touch to your wardrobe. Instead of buying pre-made patches, you can create your own unique designs and showcase your individuality. Whether you want to add a pop of color to a plain jacket or customize a backpack with your favorite symbols or logos, DIY embroidered patches are a versatile and affordable option.
Key Takeaways
- DIY embroidered patches are a fun and easy way to add personal flair to your wardrobe.
- Adding embroidered patches to your clothing or accessories can help you express your individuality and stand out from the crowd.
- To make your own embroidered patches, you’ll need some basic materials like fabric, embroidery floss, and a needle.
- When choosing a design for your patch, consider your personal style and the message you want to convey.
- To ensure your patch looks its best, use these tips for embroidering and adding backing before sewing it onto your clothing or accessories.
Benefits of Adding Personal Flair to Your Wardrobe
One of the main benefits of adding personal flair to your wardrobe is the ability to express your individuality through fashion. In a world where trends come and go, it can be difficult to stand out from the crowd. By creating your own DIY embroidered patches, you can showcase your unique personality and interests.
Another benefit of DIY embroidered patches is the ability to save money on unique clothing and accessories. Instead of spending a fortune on designer pieces or limited edition items, you can transform basic garments into one-of-a-kind creations with just a few simple stitches. This allows you to stay on trend without breaking the bank.
Materials Needed for DIY Embroidered Patches
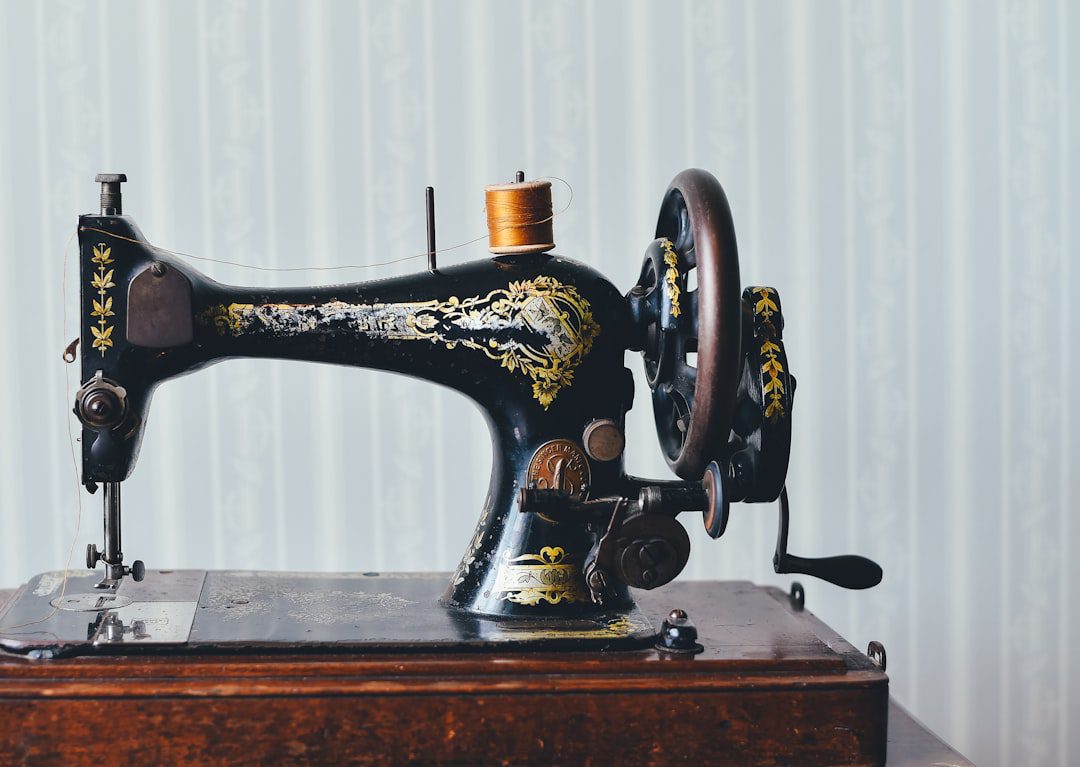
To create your own DIY embroidered patches, you will need a few basic materials. These include embroidery thread in various colors, an embroidery hoop to hold the fabric taut, fabric for the patch itself, a needle for stitching, and scissors for cutting the thread.
Embroidery thread comes in a wide range of colors and thicknesses, allowing you to create intricate designs or bold statements. The embroidery hoop is used to keep the fabric tight while you stitch, ensuring that your stitches are even and neat. Fabric can be any type of material, but it is best to choose a sturdy fabric that will hold up to wear and tear.
Choosing the Right Design for Your Patch
| Design Considerations | Metrics |
|---|---|
| Brand Consistency | Number of brand elements included in the design |
| Visibility | Size of the design and contrast with the patch background |
| Complexity | Number of colors and details in the design |
| Message Clarity | Readability of any text included in the design |
| Originality | Uniqueness of the design compared to other patches |
When choosing a design for your DIY embroidered patch, there are a few factors to consider. First, think about the size and shape of the patch. If you plan to sew the patch onto a small item, such as a hat or backpack, you may want to choose a smaller design. On the other hand, if you plan to sew the patch onto a larger item, such as a jacket or tote bag, you can opt for a larger design.
Next, consider a design that reflects your personality or interests. Whether you love animals, sports, or music, there are countless options for creating a patch that speaks to your passions. Look for inspiration online or in magazines to help you come up with ideas for your own unique designs.
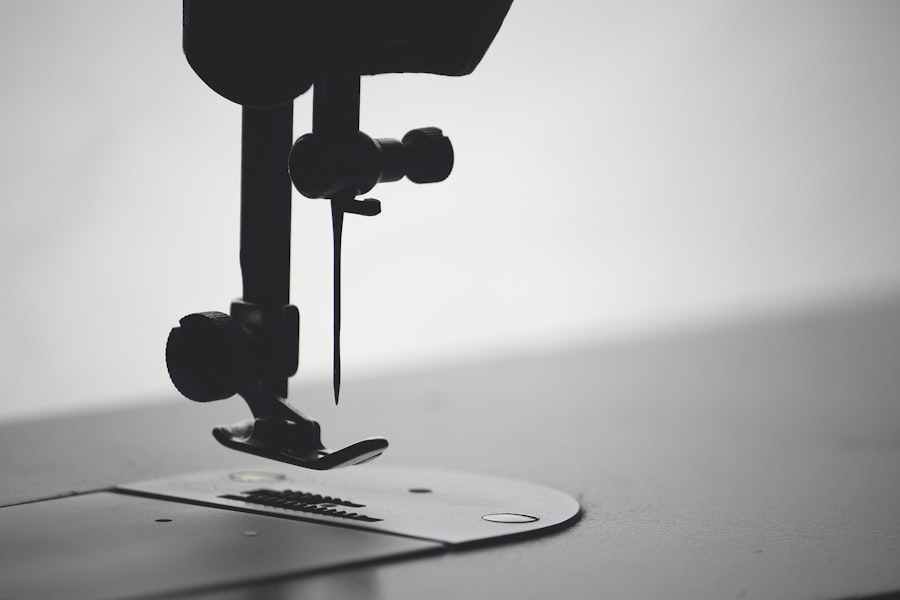
Tips for Embroidering Your Patch
Embroidering your DIY patch can be a fun and relaxing activity, but it does require some basic stitching skills. If you are new to embroidery, it is best to start with a simple stitch, such as the backstitch or running stitch. These stitches are easy to learn and create clean lines.
When embroidering your patch, it is important to keep the thread tension consistent. This means that each stitch should be pulled tight enough to lay flat on the fabric, but not so tight that it puckers or distorts the design. Practice on scrap fabric before starting on your actual patch to get a feel for the right tension.
Using a thimble can also be helpful when embroidering your patch. A thimble is worn on the finger and helps protect it from getting pricked by the needle. This can be especially useful when working with thicker fabrics or multiple layers of fabric.
Adding Iron-On Backing to Your Patch
Iron-on backing is a popular option for attaching patches to clothing or accessories. It is a thin layer of adhesive that is activated by heat, allowing the patch to be easily attached to fabric. To add iron-on backing to your DIY embroidered patch, follow these step-by-step instructions:
1. Cut a piece of iron-on backing slightly smaller than your patch.
2. Place the iron-on backing on the backside of your patch, adhesive side down.
3. Set your iron to the appropriate temperature for the fabric you are working with.
4. Place a thin cloth or pressing cloth over the patch and iron-on backing.
5. Press the iron onto the cloth, applying firm pressure for about 15-20 seconds.
6. Lift the iron and cloth, and check that the adhesive has bonded to the fabric.
7. Allow the patch to cool completely before handling.
Sewing Your Patch onto Clothing or Accessories
If you prefer a more secure attachment method, sewing your patch onto clothing or accessories is a great option. Here are some tips for sewing your DIY embroidered patch:
1. Choose the right location for your patch. Consider the size and shape of the patch, as well as the overall design of the garment or accessory.
2. Thread your needle with embroidery thread that matches or complements the colors in your patch.
3. Start by securing the thread on the backside of the fabric with a knot.
4. Bring the needle up through the fabric at one edge of the patch.
5. Take small stitches around the edge of the patch, making sure to catch both the fabric and the patch with each stitch.
6. Continue stitching around the entire edge of the patch until it is securely attached.
7. Tie off your thread on the backside of the fabric with a knot.
To ensure that your patch stays in place, it is important to sew it on securely. If you are working with a thicker fabric, such as denim or leather, you may need to use a thimble to help push the needle through the layers.
Creative Ways to Use Your DIY Embroidered Patches
Once you have created your DIY embroidered patches, there are countless creative ways to use them. One popular option is to add patches to jackets, backpacks, and hats. This allows you to customize your favorite items and make them truly unique.
Another creative way to use your DIY embroidered patches is to create a patch-covered denim jacket. This trend has been popular for several years and allows you to showcase your favorite designs all in one place. Simply sew or iron-on your patches onto a denim jacket, arranging them in a way that is visually appealing to you.
Patches can also be used to cover up stains or holes in clothing. Instead of throwing away a beloved garment because of a small imperfection, you can use a patch to cover it up and give it new life. This not only saves money but also adds a personal touch to your wardrobe.
Maintenance and Care for Your Embroidered Patches
To ensure that your DIY embroidered patches last for years to come, it is important to properly care for them. Here are some tips for maintaining and caring for your patches:
1. Follow the washing and drying instructions for the fabric the patch is attached to. Some fabrics may require hand washing or air drying to prevent damage.
2. If possible, remove the patch before washing or dry cleaning the garment.
3. Store patches in a cool, dry place to prevent damage from moisture or sunlight.
4. If a patch becomes damaged, such as fraying or coming loose, repair it as soon as possible to prevent further damage.
By following these simple maintenance and care tips, you can ensure that your DIY embroidered patches stay looking their best for years to come.
Making Your Wardrobe Unique with DIY Embroidered Patches
In conclusion, DIY embroidered patches are a fun and creative way to add a personal touch to your wardrobe. By creating your own unique designs, you can express your individuality and stand out from the crowd. With just a few basic materials and some stitching skills, you can transform plain garments and accessories into one-of-a-kind creations.
Whether you choose to sew or iron-on your patches, there are endless possibilities for incorporating them into your wardrobe. From jackets and backpacks to hats and jeans, you can customize your favorite items and make them truly unique. So why not give DIY embroidered patches a try? You may just discover a new hobby and a whole new way to express yourself through fashion.
Looking to create your own embroidered patch? Check out this informative article on CustomEmbroideredBadges.com that provides a step-by-step guide on how to design and order your very own custom embroidered patch. Whether you’re looking for a unique way to promote your business or organization, or simply want to add a personal touch to your clothing or accessories, this article will walk you through the process from start to finish. Don’t miss out on the opportunity to showcase your creativity and style with a custom embroidered patch. Click here to read more!
FAQs
What is an embroidered patch?
An embroidered patch is a piece of fabric that has a design or logo stitched onto it using colored threads.
What materials do I need to create my own embroidered patch?
To create your own embroidered patch, you will need fabric, embroidery thread, an embroidery hoop, a needle, and a design or logo to stitch onto the fabric.
What type of fabric is best for creating embroidered patches?
The best fabric for creating embroidered patches is a sturdy, non-stretchy fabric such as cotton or denim.
What type of embroidery thread should I use?
You should use embroidery thread that is specifically designed for use in embroidery projects. This thread is typically made of cotton or polyester and comes in a wide range of colors.
Do I need any special skills to create my own embroidered patch?
While some basic sewing skills are helpful, you do not need to be an expert to create your own embroidered patch. There are many tutorials and resources available online to help you get started.
Can I create my own design for my embroidered patch?
Yes, you can create your own design for your embroidered patch. There are many software programs and online tools available that can help you create a custom design.
How do I attach my embroidered patch to clothing or accessories?
You can attach your embroidered patch to clothing or accessories using a variety of methods, including sewing, iron-on adhesive, or Velcro. The method you choose will depend on the type of fabric and the intended use of the patch.