DIY Patches: Create Your Own Unique Style.

In today’s fashion world, standing out and expressing individuality is highly valued. People are constantly looking for ways to make a unique fashion statement and set themselves apart from the crowd. One popular trend that has emerged in recent years is the use of patches. Patches are a fun and creative way to add a personal touch to clothing and accessories, allowing individuals to showcase their own unique style.
Creating your own DIY patches is a great way to express your individuality and creativity. By making your own patches, you have complete control over the design, colors, and materials used. This allows you to create something truly one-of-a-kind that reflects your personal style and interests. Whether you’re into animals, plants, or geometric shapes, the possibilities are endless when it comes to designing your own patches.
Key Takeaways
- Creating DIY patches allows you to express your unique style and personality.
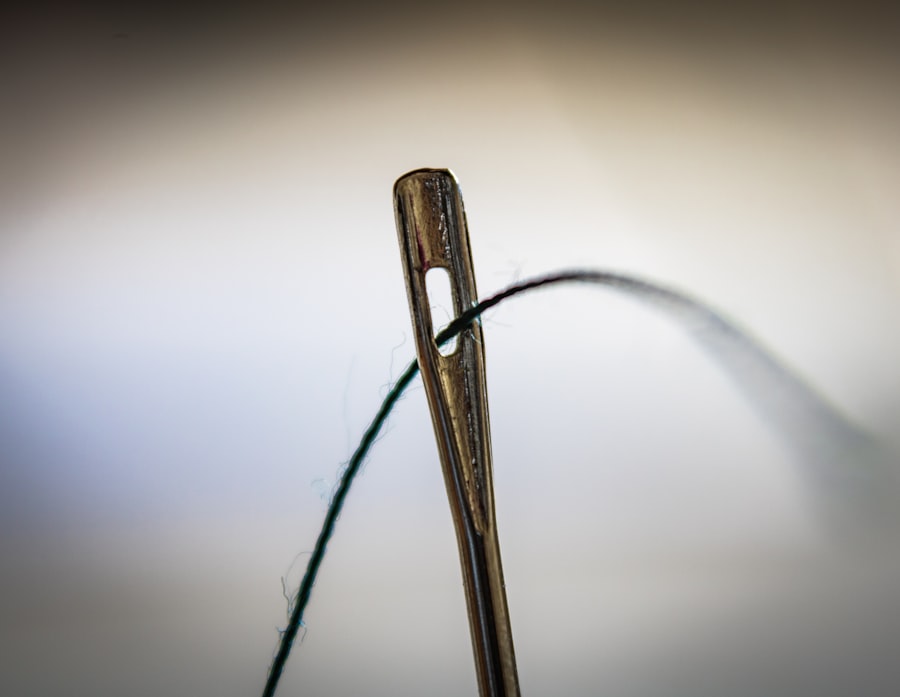
- Materials needed include fabric, embroidery thread, needles, and scissors.
- Tips for designing a great patch include keeping it simple and using contrasting colors.
- Choosing the right fabric is important for durability and ease of embroidery.
- Embroidery techniques include satin stitch, backstitch, and French knots.
Materials Needed to Make Your Own Patches
To create your own DIY patches, you will need a few basic materials. First and foremost, you will need fabric. Choose a fabric that is sturdy and durable, such as denim or canvas, as this will ensure that your patch lasts for a long time. You will also need thread in various colors, needles, and embroidery hoops to hold the fabric taut while you work.
When choosing materials for your DIY patches, it’s important to opt for high-quality options. This will ensure that your patches not only look great but also stand the test of time. Using cheap materials may result in patches that fray or fall apart after just a few uses. Investing in high-quality materials may cost a bit more upfront but will save you money in the long run as your patches will last much longer.
Designing Your Patch: Tips and Tricks for a Great Look
Designing your patch is where the fun really begins. Start by sketching out your ideas on paper before transferring them onto your fabric. This will allow you to experiment with different designs and layouts without making any permanent mistakes. You can also use reference images or templates to help guide your design process.
When designing your patch, it’s important to keep things simple and clear. Remember that patches are often small, so intricate designs may not translate well. Opt for bold and simple shapes that can be easily recognized from a distance. This will ensure that your patch stands out and makes a statement.
Choosing the Right Fabric for Your Patch
| Factors to Consider | Options | Advantages | Disadvantages |
|---|---|---|---|
| Weight | Cotton, Polyester, Nylon | Cotton is lightweight and breathable, Polyester is durable, Nylon is water-resistant | Cotton wrinkles easily, Polyester can be hot, Nylon can be stiff |
| Color | Cotton, Polyester, Rayon | Cotton and Polyester can be dyed in a wide range of colors, Rayon has a natural sheen | Cotton and Polyester can fade over time, Rayon can shrink or stretch |
| Texture | Cotton, Silk, Wool | Cotton is soft and breathable, Silk has a luxurious feel, Wool is warm and insulating | Cotton can wrinkle easily, Silk and Wool can be expensive |
| Usage | Cotton, Polyester, Denim | Cotton is versatile and can be used for a variety of projects, Polyester is durable and easy to care for, Denim is sturdy and long-lasting | Cotton can shrink, Polyester can be hot, Denim can be heavy |
The type of fabric you choose for your patch is crucial to its overall look and durability. There are many different types of fabric available, each with its own unique properties. When choosing fabric for your patch, consider the intended use of the patch and select a fabric that is suitable for that purpose.
For patches that will be sewn onto clothing or accessories, it’s important to choose a fabric that is sturdy and can withstand regular wear and tear. Denim or canvas are great options as they are durable and can handle the stress of being sewn onto fabric. If you’re making patches for decorative purposes only, you have more flexibility in terms of fabric choice. Consider using fabrics such as felt or velvet for a softer and more luxurious look.
Embroidery Techniques for DIY Patches
Embroidery is an essential part of creating DIY patches. There are many different embroidery techniques to choose from, each with its own unique look and level of difficulty. Some popular embroidery techniques for patches include satin stitch, backstitch, and chain stitch.
Satin stitch is a versatile technique that creates a smooth and solid fill. It involves stitching parallel rows of thread close together to create a solid block of color. Backstitch is another commonly used technique that creates clean and precise lines. It involves stitching one stitch forward and then two stitches back, creating a continuous line.
When embroidering your patches, it’s important to take your time and work carefully. Use small, even stitches to ensure a clean and professional look. Practice on scrap fabric before working on your actual patch to get a feel for the technique and to perfect your stitching.
Iron-On vs. Sew-On Patches: Which is Best?
When it comes to attaching your DIY patches, you have two main options: iron-on or sew-on. Each method has its own pros and cons, so it’s important to consider the intended use of your patch before making a decision.
Iron-on patches are quick and easy to attach. Simply place the patch on the desired location, cover it with a thin cloth, and press with a hot iron for a few seconds. The heat from the iron will activate the adhesive on the back of the patch, bonding it to the fabric. Iron-on patches are great for temporary or decorative use, but may not hold up well with regular washing or heavy use.
Sew-on patches, on the other hand, require a bit more time and effort to attach but offer greater durability. To sew on a patch, simply thread a needle with matching thread and stitch around the edges of the patch, securing it to the fabric. Sew-on patches can withstand regular washing and are ideal for items that will be subjected to a lot of wear and tear.
Adding Personal Touches to Your DIY Patches
One of the great things about creating your own DIY patches is that you can add personal touches to make them truly unique. Consider adding initials or monograms to your patches for a personalized touch. You can also experiment with different color schemes or add small details such as beads or sequins for added interest.
When adding personal touches to your patches, it’s important to keep in mind your own individual style and preferences. Don’t be afraid to think outside the box and try something new. After all, the whole point of creating DIY patches is to express your own unique style and make a statement.
DIY Patch Ideas: Inspiration for Your Next Project
If you’re looking for inspiration for your next DIY patch project, the possibilities are endless. Consider creating patches inspired by animals, plants, or geometric shapes. Animal patches, such as a cute cat or a majestic lion, can add a playful touch to any item of clothing or accessory. Plant-inspired patches, such as a delicate flower or a lush palm tree, can bring a touch of nature to your wardrobe. Geometric shapes, such as triangles or hexagons, can add a modern and minimalist look to your patches.
When it comes to finding inspiration for your DIY patches, look no further than everyday life. Take a walk in nature and observe the colors and shapes around you. Look at art and design magazines for ideas and inspiration. The world is full of beauty and creativity, so don’t be afraid to let it inspire you.
Making Patches for Different Types of Clothing and Accessories
One of the great things about DIY patches is their versatility. They can be used on a wide variety of items, from clothing to accessories. When choosing the right type of patch for different items, consider the size and shape of the item as well as its intended use.
For jackets or backpacks, larger patches with bold designs work well. These items have more surface area to work with, so you can go for bigger and more intricate designs. For smaller items such as hats or shoes, smaller patches with simpler designs are often more suitable. These items have less space to work with, so it’s important to choose designs that will still be visible and recognizable on a smaller scale.
Caring for Your DIY Patches: Tips for Longevity and Durability
To ensure the longevity and durability of your DIY patches, it’s important to take proper care of them. When washing items with sew-on patches, turn them inside out and wash them on a gentle cycle to avoid damaging the embroidery. For items with iron-on patches, it’s best to hand wash them or use a delicate cycle to prevent the adhesive from coming loose.
When storing your DIY patches, it’s important to keep them in a cool and dry place to prevent any damage. Avoid folding or creasing the patches as this can cause them to lose their shape. If possible, store them flat or roll them up and place them in a protective bag or container.
Taking care of your DIY patches will ensure that they continue to look great and maintain their unique style for years to come. By following these tips, you can enjoy your patches for a long time and continue to express your individuality through your personal style.
If you’re interested in making your own patches, you’ll definitely want to check out this informative article on CustomEmbroideredBadges.com. They offer a wide range of options for creating personalized embroidered patches, including their popular embroidered patch service (link: https://customembroideredbadges.com/embroidered-patch/). Additionally, if you’re looking for a completely custom design, they also provide a custom embroidered patch service (link: https://customembroideredbadges.com/custom-embroidered-patch/). Whether you’re a business owner, part of a club or organization, or simply want to add a unique touch to your clothing or accessories, this article will guide you through the process of creating your own patches. Don’t miss out on the opportunity to showcase your creativity and style with custom patches!
FAQs
What are patches?
Patches are small pieces of fabric or other materials that are attached to clothing or accessories for decorative or identification purposes.
What materials do I need to make my own patches?
To make your own patches, you will need fabric, scissors, a sewing machine or needle and thread, and any additional embellishments you want to add to your patch.
What types of fabric can I use to make patches?
You can use a variety of fabrics to make patches, including cotton, denim, felt, and leather.
How do I design my own patch?
You can design your own patch by sketching out your ideas on paper and then transferring the design onto your fabric using a fabric pen or pencil. You can also use stencils or templates to create your design.
How do I attach my patch to my clothing or accessory?
You can attach your patch to your clothing or accessory by sewing it on using a sewing machine or needle and thread. You can also use fabric glue or iron-on adhesive to attach your patch.
Can I make patches without a sewing machine?
Yes, you can make patches without a sewing machine by hand-sewing them using a needle and thread. You can also use fabric glue or iron-on adhesive to attach your patch without sewing.
What are some ideas for using patches?
Patches can be used to personalize clothing, bags, hats, and other accessories. They can also be used to identify a group or organization, or to show support for a cause or team.